I’m deeply grateful to my network for the inspiration and encouragement that so many of you have given me along the way.
Here are a few highlights I’m celebrating this month:
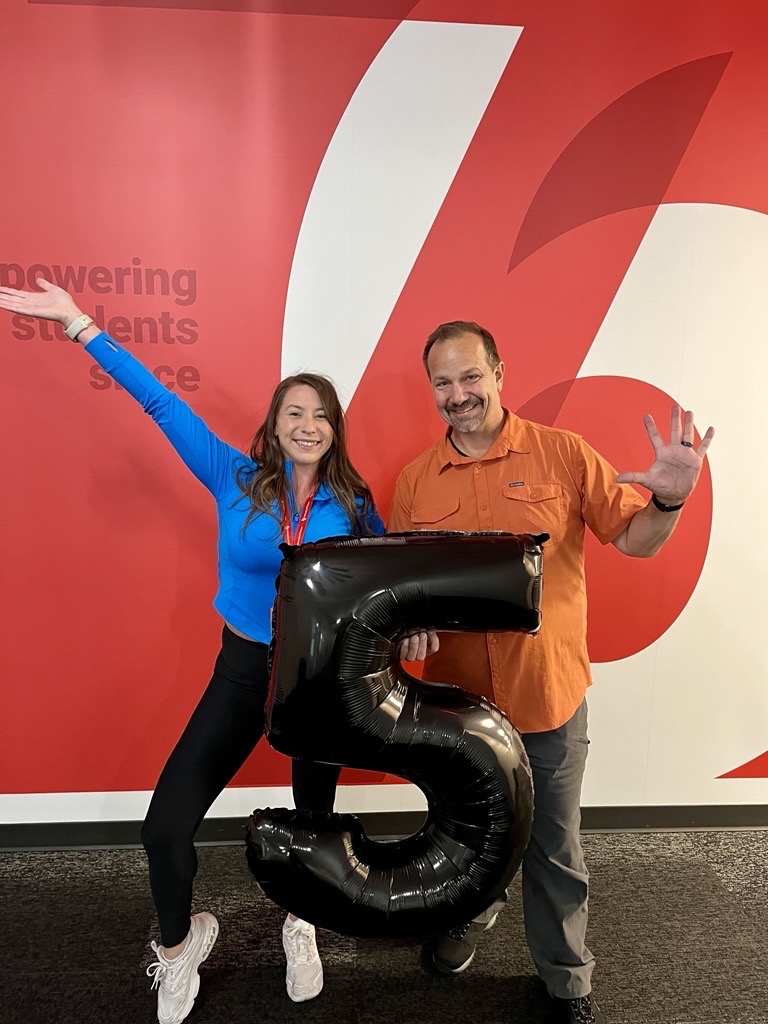
✨ Milestone #1: Five years at the University of Phoenix!
Huge thanks to Russ and Jenn for taking a chance on me as a web content author in the height of the pandemic and later promoting me into leadership. In May 2025, I stepped into a Marketing Manager role—and I absolutely love working with my small but mighty team. (Pictured here with my teammate Meg, who also hit the 5-year mark recently.) Not pictured: April – one of the sharpest leaders I’ve ever worked with.
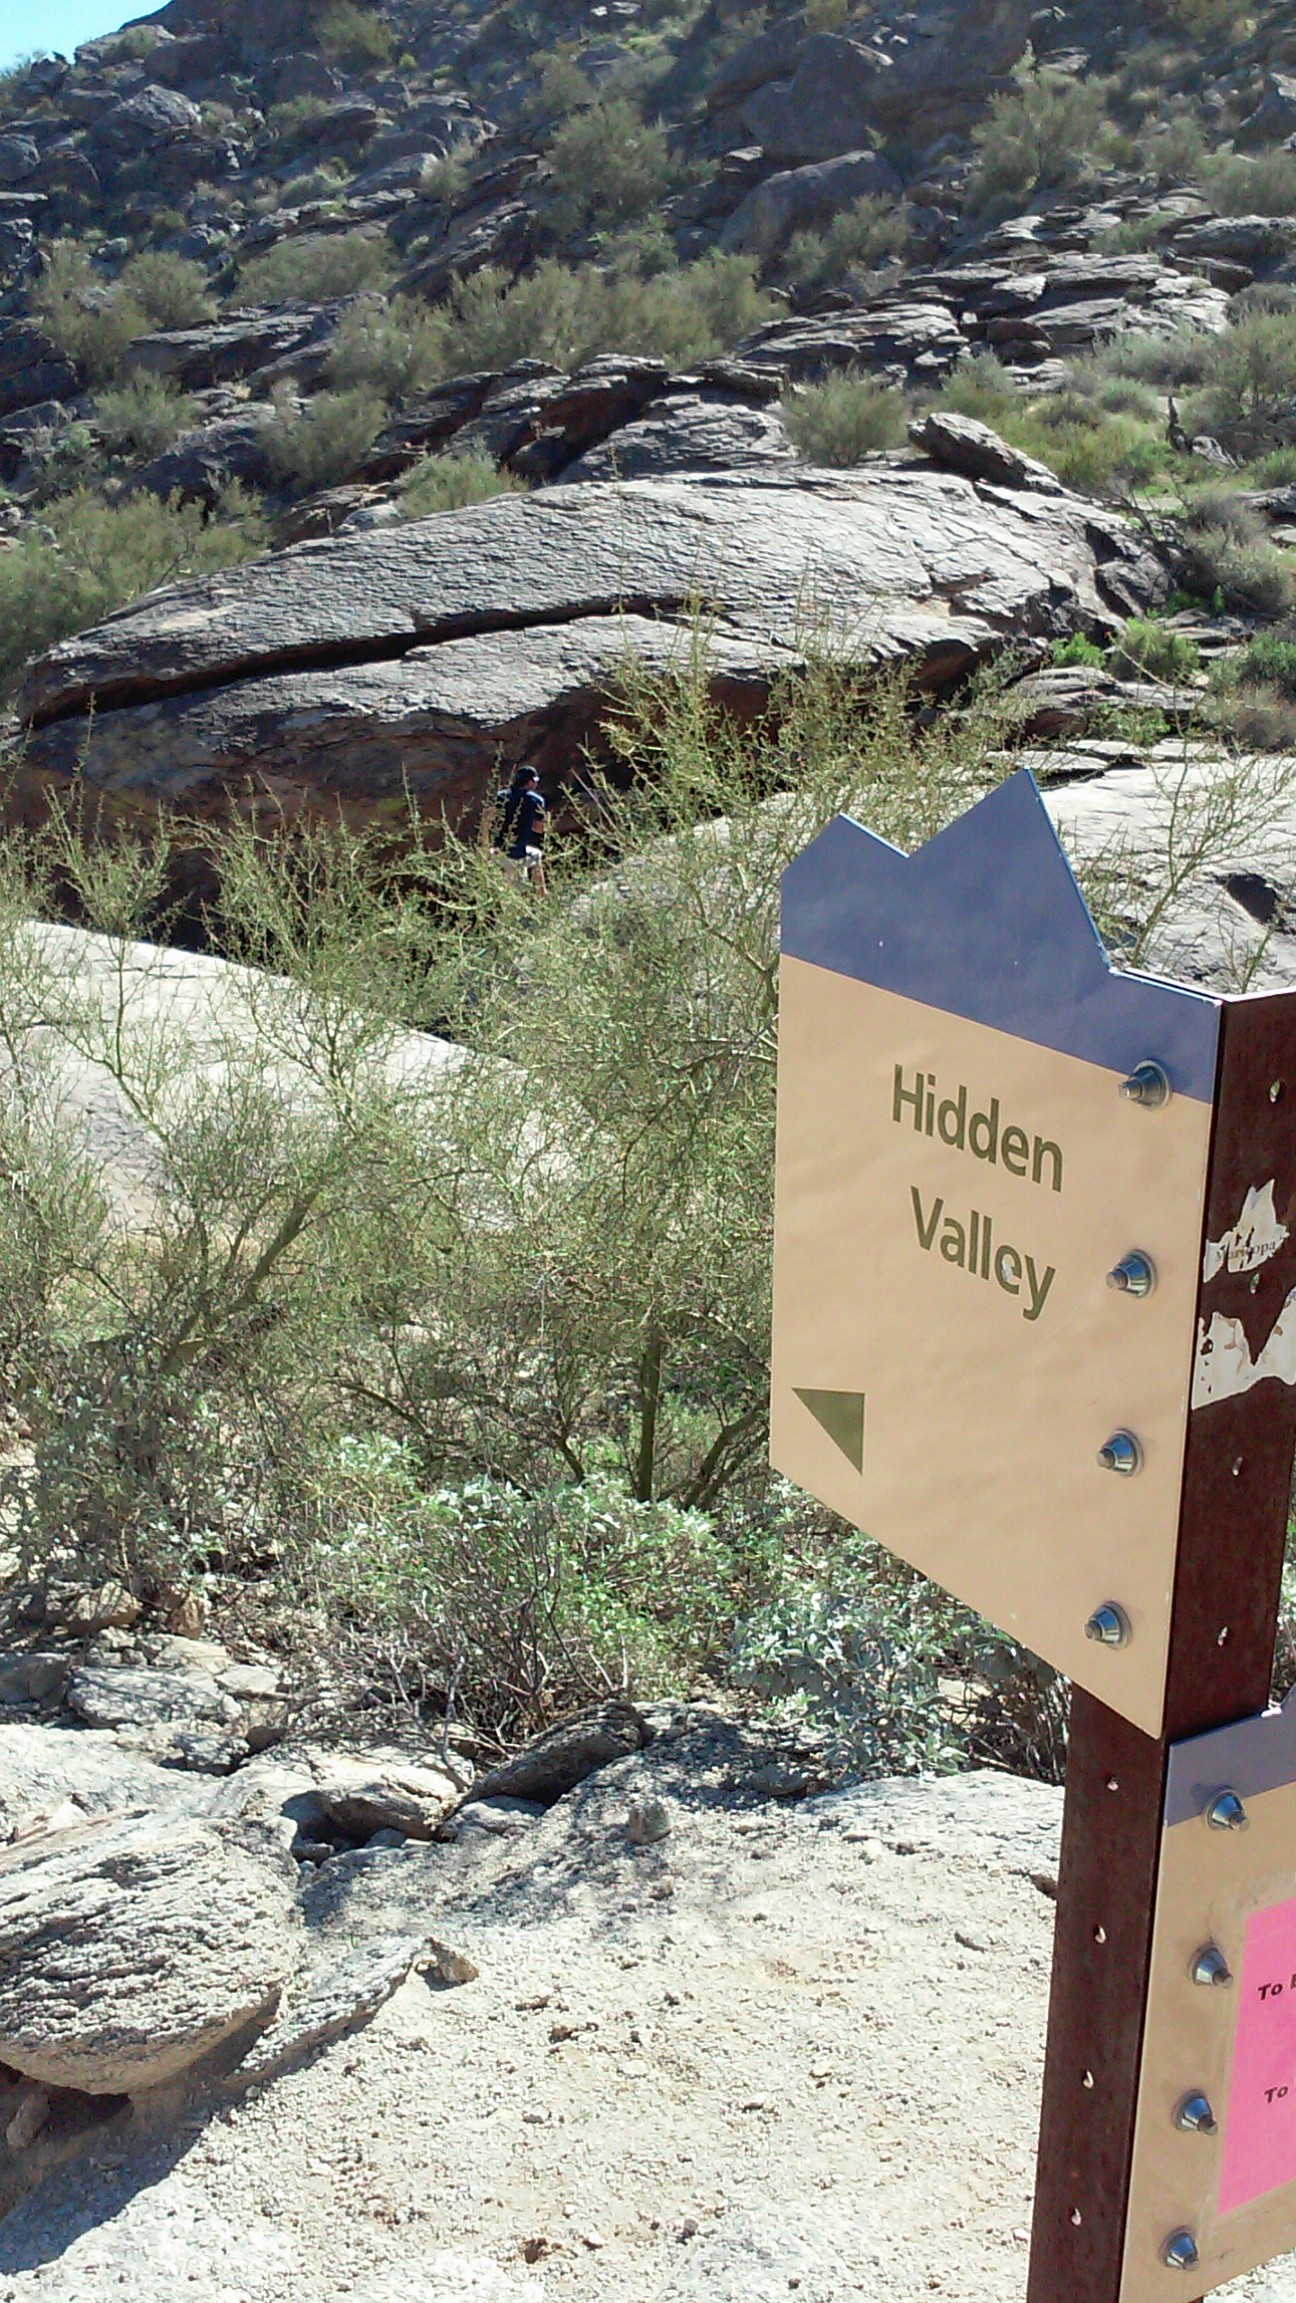
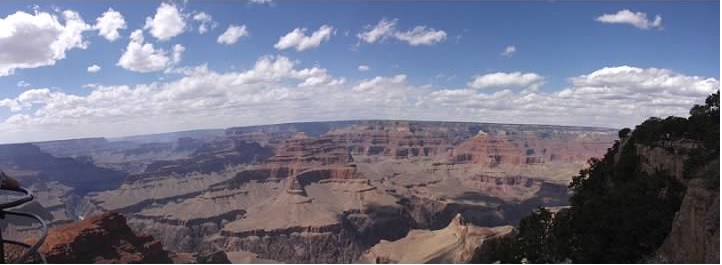
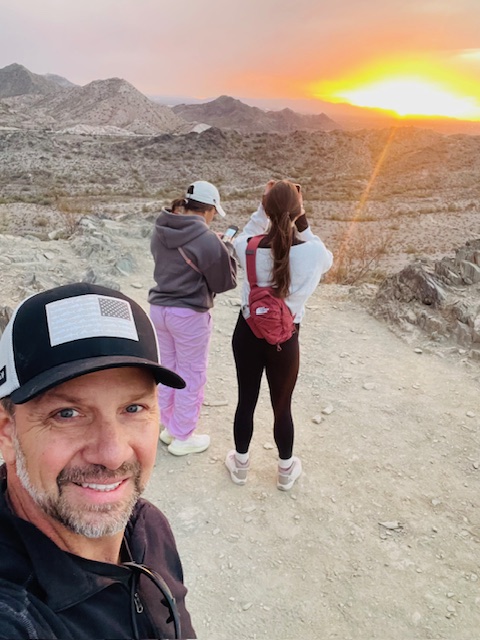
✨ Milestone #2: 1,000 reviews as a hiking guide!
What started as a side hustle in 2019 has grown into something truly special. I’ve had the privilege of meeting incredible people from all over the world. If you’re curious, check out the City Sun Times feature on my popular night glow hike.
✨ Milestone #3: Completed the first course of my Master of Management program—with an A!
That’s right. I’m back in college after a 35-year break. Formal education has a way of waking up parts of your brain that you didn’t know were asleep.
Not a December milestone, but worth noting: earlier this year, I released the audiobook version of my second self-published nonfiction book, Romancing The Blatt.
What’s next?
I’m focused on growing in my full-time role and aiming to achieve expert level in 2026. I’ll keep building my guide business while balancing work and my master’s program—and yes, there are a few more books in the pipeline.
In short, I’ve been busy, and I plan to stay that way. After experiencing a couple of months without work during the pandemic, I wouldn’t have it any other way.
Here’s to growth, adventure, and making every step count!